How to Make a Simple Website
When setting up this site, the first thing I learned is that there’s not really any good guides out there. The simple ones are just trying to sell you something or slip a referral code in, and the detailed ones may as well be in a foreign language if you’re not experienced with programming. There’s not really any truly useful step by step instructions for people like me who approach this with at the “what’s a GitHub?” stage, so now this thing seems to be up and running, I thought the most appropriate thing for a first post is to show my working.
The brief process I followed is:
- Purchased a domain on Namecheap
- Transferred the Domain Name System to Cloudflare
- Set up a Cloudflare Pages site
- Used Astro to customise a simple template
This may not be the optimum way to do this, but the only cost involved has been purchasing the domain, so this feels like a good deal to me.
Namecheap
This one is easy, in fact I did this step 4 years ago. I assumed that once you purchase the domain, it’s yours and you can throw up a site and that’s it. I know how wrong that is now, but I can see why a beginner would make this mistake. The thing to look out for are the discounts, they can make expensive domains look deceivingly cheap, which isn’t ideal considering you’ll be paying for this every year until you cancel. A look at some domains currently available shows discounts of 92%, which if you’re not paying attention can lead to a shock in 12 months time.
After paying for the domain (this has gone up by roughly 2 US Dollars a year), I realised quickly that using it wouldn’t be as simple as I hoped: I had an address but it was an empty plot with no house. Admittedly, at this stage, I added some redirects that didn’t work due to a lack of a SSL certificate and an email redirect I never used, then forgot about the whole endeavour for 4 years to focus on my university work. The problem was I didn’t have anywhere to host the website and I didn’t want to spend any more money. Call me tight, but I didn’t feel like paying twice for a website. Last month I actually decided to do something about this.
Cloudflare
Cloudflare is very simply put a big network that contributes to the infrastructure that makes the internet tick. The first piece of infrastructure to borrow is their Domain Name Service (DNS). This isn’t a hard requirement, but it makes the next step a lot easier. To do this, we need to recognise an earlier mistake: setting up a load of subdomains and email forwarding rules makes transferring a DNS more complicated than it needs to be, I’d suggest not touching anything once you’ve purchased a domain name if you know your next steps.
Cloudflare makes this step easy, when you make an account, it will walk you through the process of importing a DNS record, much easier if you’ve not messed with it earlier. Namecheap themselves have a good guide for this. The guide does focus more on hosting, but after a bit of waiting it should all show as set up on your Cloudflare dashboard.
Cloudflare Pages
I’m aware that the more popular platform for this is GitHub Pages, however I don’t have a GitHub account and whilst most tech savvy people will, most absolute beginners probably won’t. I also saw that this requires a lot of public code repositories, which I may be unreasonable in not liking the sound of but this put me off, along with GitHub pages being a Microsoft product, so I wasn’t sold on this being around forever. So I used Cloudflare pages instead, since they offer free hosting for simple websites with what I thought to be very generous terms. Unlimited requests and bandwidth is better than GitHub, as well as Cloudflare placing no restrictions on commercial use, something prohibited by GitHub.
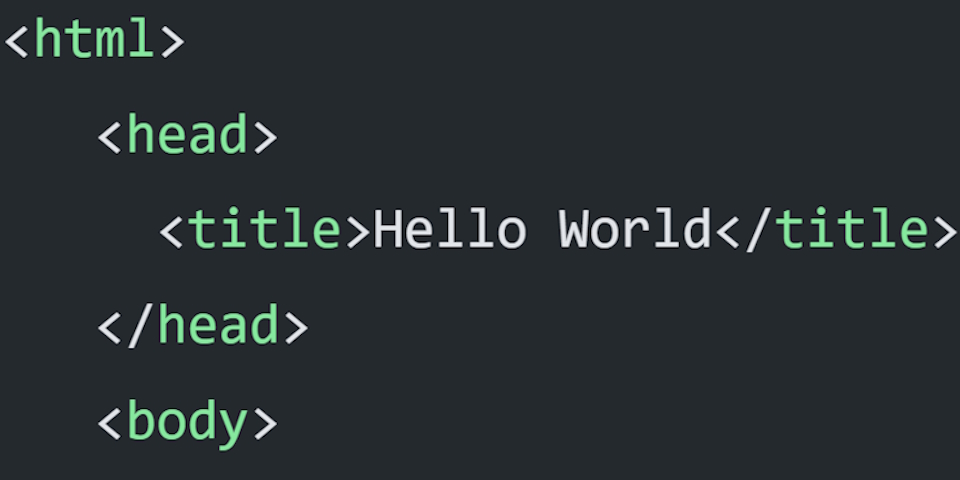
Setting this up is fairly easy. If you’re like me and haven’t learned HTML in about 10 years or never did at all, don’t be embarrassed to want to know how to do a basic hello world site, this is useful to test if we’ve set everything up correctly. Fire up notepad and paste in
<!DOCTYPE html>
<html>
   <head>
     <title>Hello World</title>
   </head>
   <body>
    <center>
      <h1>Hello World!</h1>
      <p>Hello World!</p>
    </center>
   </body>
</html>
Save this as a .HTML file and send this file to a zipped folder, the names are unimportant but ‘index’ is a good habit. Once you’ve done this, in the Cloudflare Dashboard find “Compute (Workers)”, “Create”, then select the “Pages” tab, give the project a name then drag and drop your zip file in. After it builds the site, this should display at the url provided. Not bad!
But what about that domain we bought? This is handled by Cloudflare again as if you select the project you’ve just made, you’ll find a custom domain tab. Something I wish was better signposted is that you have to add both your domain with and without www. Once you’ve added both, check that nothing looks out of place in the DNS record. You can get here by going to ‘Account Home’, selecting your domain and clicking the DNS tab. If you used Namecheap, you may have a CNAME record with an asterisk, which is a wildcard redirect, to catch any unintended subdomain inputs. Unfortunately this doesn’t work with Pages so delete this row if you have it. I have 2 CNAME rows, one for the domain name and one for www, both pointing at the Pages URL. This took multiple attempts for me but this is the method that works personally.
Astro
I’d say this step is optional. If the previous steps worked for you, you now have a very bare bones custom presence on the internet and can show off a very basic website. If you want to branch off here and learn HTML and CSS, be my guest, but I’m lazy and I want to use a template. A requirement placed on us by Cloudflare Pages is these sites have to be static, that is what you send is what you get, no communicating with a server and everyone sees the same site. This rules out WordPress, which you may have considered as an option.
Maybe this is overkill, but to put up something a bit more professional looking, I shopped around for something that has a good template selection, supports static sites and has a good scope for future development if this is something I want to improve on myself later. This led me to Astro.
I will admit, I don’t fully understand Astro still, but it works for me. A lot of tutorials for Astro assume a lot of knowledge, so I’m going to explain it with as few assumptions as possible. Astro needs some software to work first, node.js, a code editor, and your command line interface, the latter is pre-installed. Download node.js and follow the recommended setup, then download VS Code and follow the recommended setup.
Next, set up a folder for the projects you may do, maybe in your documents folder. Once in this blank folder, click the bar at the top showing where your file sits and type CMD in place of the highlighted text and hit enter. Resist the urge to change the console colour to Matrix green. Some useful shortcuts here, cd.. takes you back a folder, dir shows you the contents of the folder and cd then your folder name opens said folder. Type in node -v, and if this produces a version number, things should be set up correctly. Type in npm create astro -- --template blog and this sets everything up with a simple blog template. Give it a name, say yes to the recommended settings, however I said no to a git repository as I’m not using this. Use the cd tool to enter the file you just made, and if you set up VS Code, type in code . and this should open up your website code in VS Code. Install the recommended extensions when prompted, but make sure that the Astro extension in installed.
At this point, I think I’ve reached the limit of how useful I can be at explaining web design. I played around with the website a bit, deleted pages and content I didn’t need, cleared the social media icons and added a blog post. How your site looks is up to you. Once your site looks like how you want, go to File > Save All, go back to the command window and type in npm run dev. This should build the site and allow you to preview your work by visiting http://localhost:4321/ in your browser. As you save, this page will update live, which is very useful for working on edits to your site. Use ctrl+c at any time to cancel this.
Once you’re happy with what you’ve made, go to the command window and type in npm run build. This creates a static HTML version of your site that you can find in a new folder called dist, located inside your project folder. Go into this folder, select everything then send the contents to a zip file. Return to Cloudflare Pages, click on your project, find Create deployment in the top right and drop this zip file in the same place as the hello world site, and in a few seconds it should be uploaded. Now if you go to the url you purchased and set up, you should now see your own simple blog, all for the cost of one domain name.
Useful Resources
In putting this site and guide together, I used a number of helpful resources that I’d like to acknowledge, that may be useful to yourself:
- https://www.namecheap.com/support/knowledgebase/article.aspx/9607/2210/how-to-set-up-dns-records-for-your-domain-in-a-cloudflare-account/
- https://developers.cloudflare.com/dns/manage-dns-records/reference/wildcard-dns-records/
- https://developers.cloudflare.com/pages/get-started/
- https://nodejs.org/en
- https://www.youtube.com/watch?v=F2pw1C9eKXw
- https://docs.astro.build/en/getting-started/
- https://astro.new/latest/
- https://docs.astro.build/en/guides/markdown-content/